Note: Some links in this post contain affiliate links, which means I may receive a commission if you make a purchase. That’s actually one of the ways you make money blogging! Thanks for supporting my blogging dreams! 🙂
As I’ve previously talked about, creating and building a subscribers list is uber important if you have any plans on building a successful blogging business. Now I want to show you how to install my most favorite opt-in plugin ever! SumoMe.
Go to Plugins–>Add New–>SumoMe and install the plugin. Go here to learn step by step how to install plugins on your site.
Once you activate it, you’ll see at the top right hand corner will be this tiny blue tab that you can barely see:
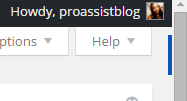
<– see that blue thing, hover over it and an icon will pop out.
Hover over it and click on it to log in. If you don’t have a Sumo Me account, it’ll prompt you to create one. Once you log in, it’ll look something like this. Click on the sumo store icon and download the list builder, smart bar, and scroll box.

How to set up the list builder: (You can also set up the scroll box and smart bar the same exact way as the list builder)
Once you click on the list builder this will pop up
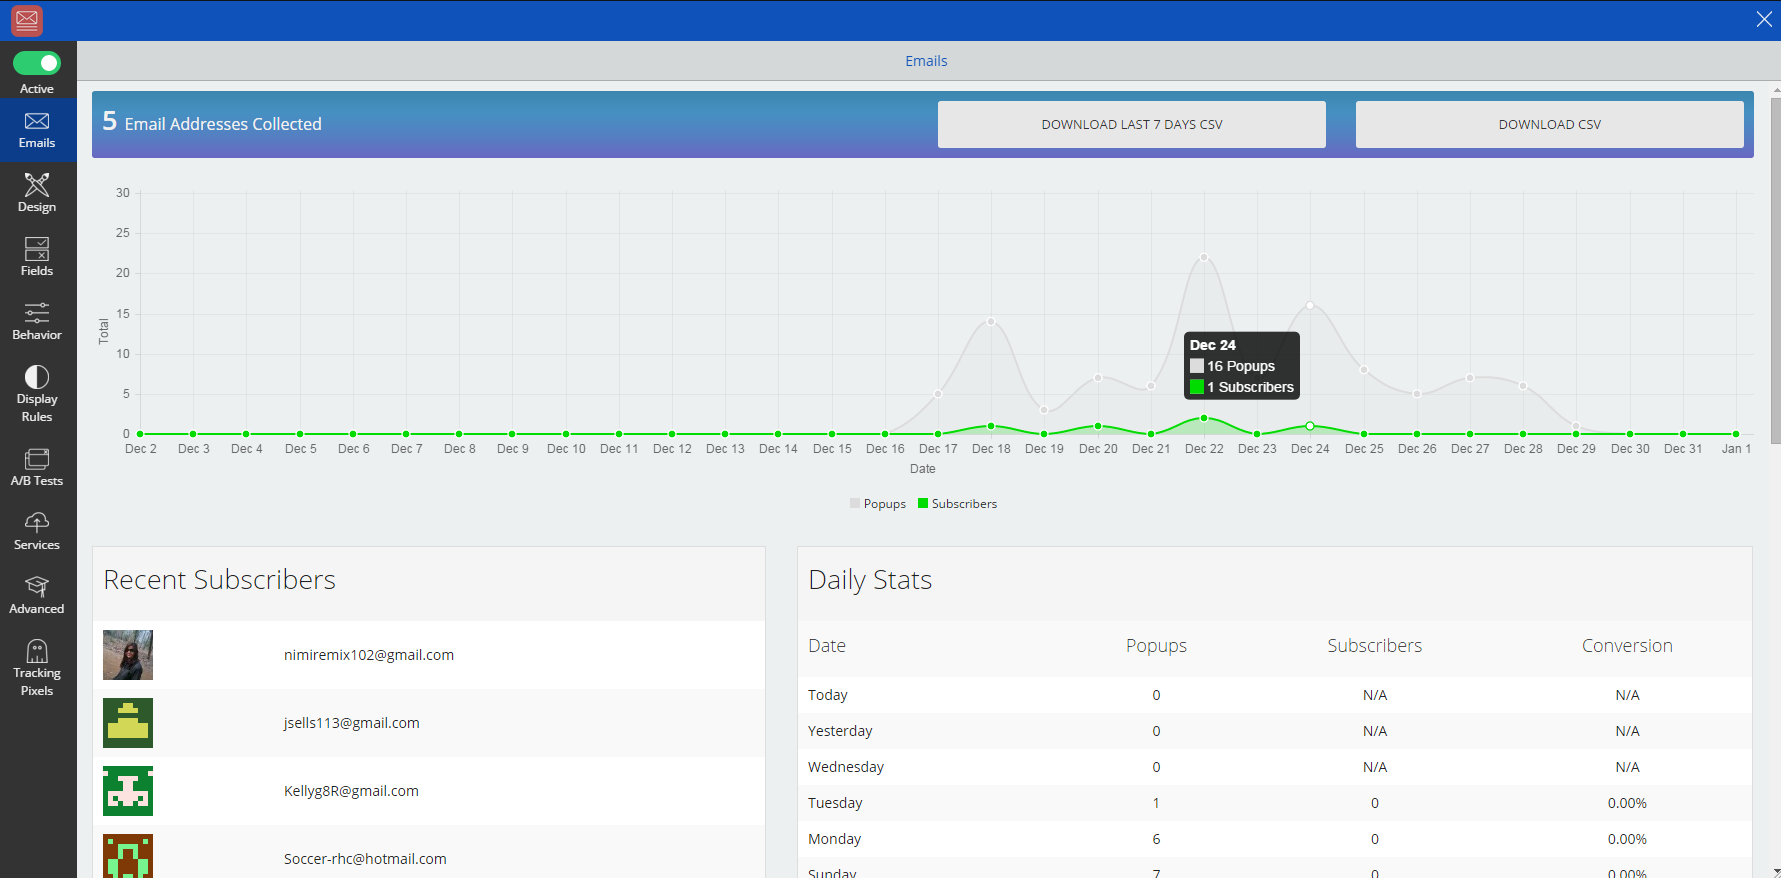
You can go down the dashboard on the left hand side one by one to configure the settings.
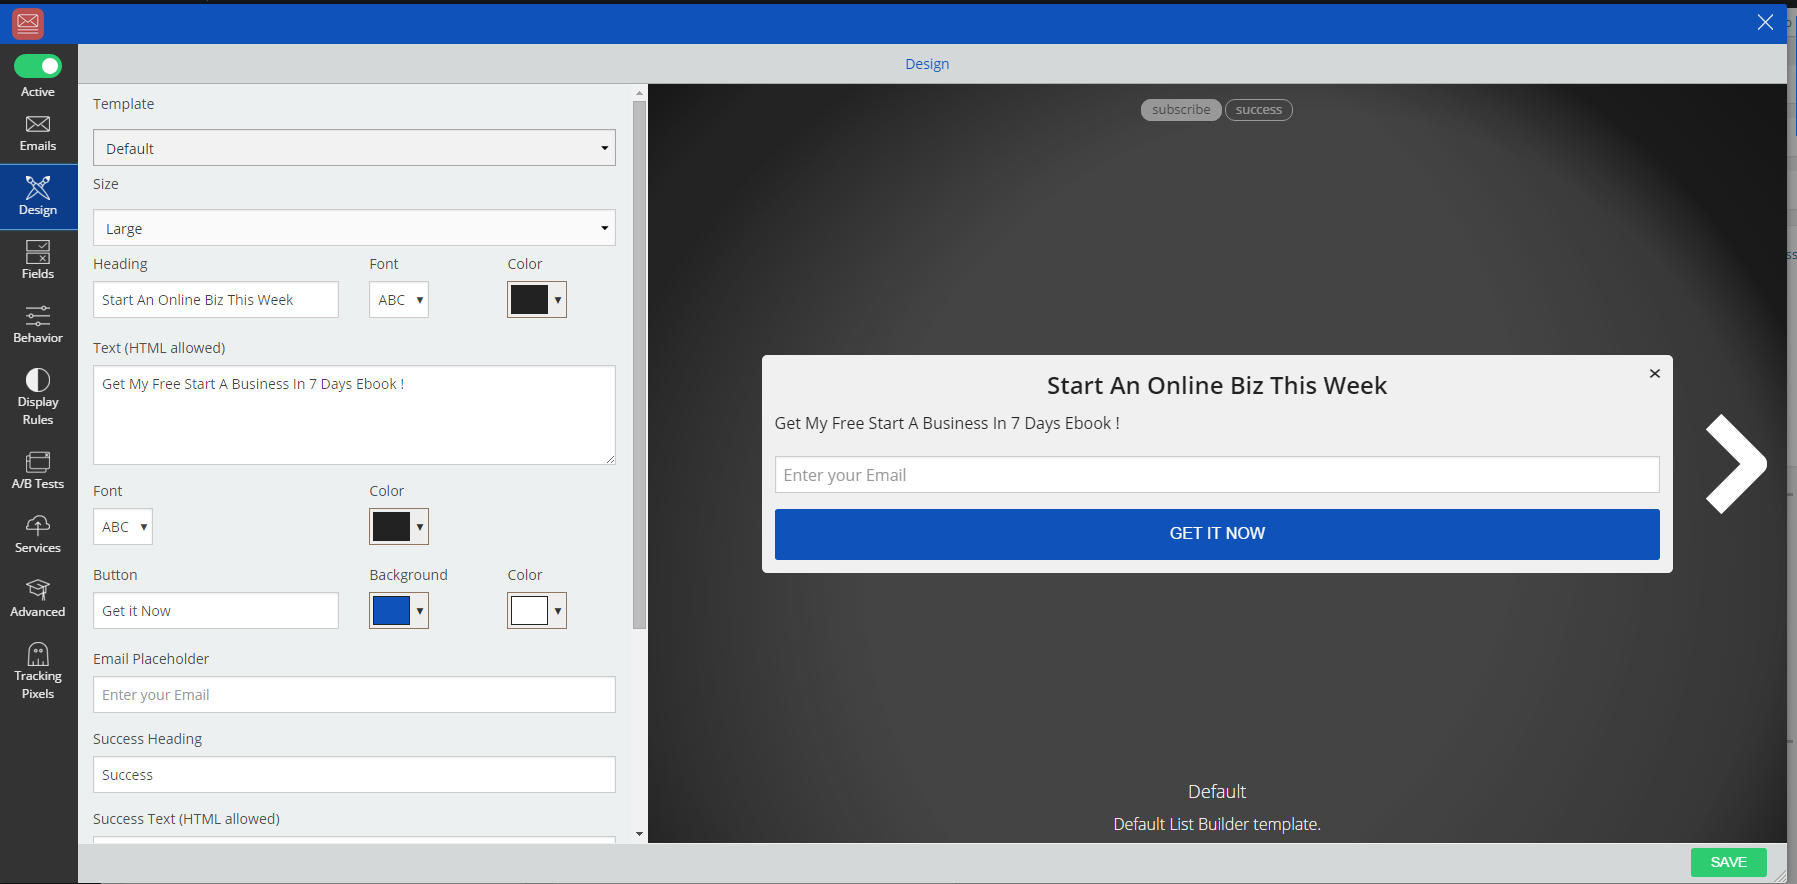
Click on design and it will show you what your pop up will look like. You can type in whatever you want it to say. After you format your opt-in, click save at the bottom right hand side. This is literally what mine looks like and what it says when you go to my account:
The fields tab is a pro (paid) feature, and I’m just using the free version so I haven’t used that tab yet.
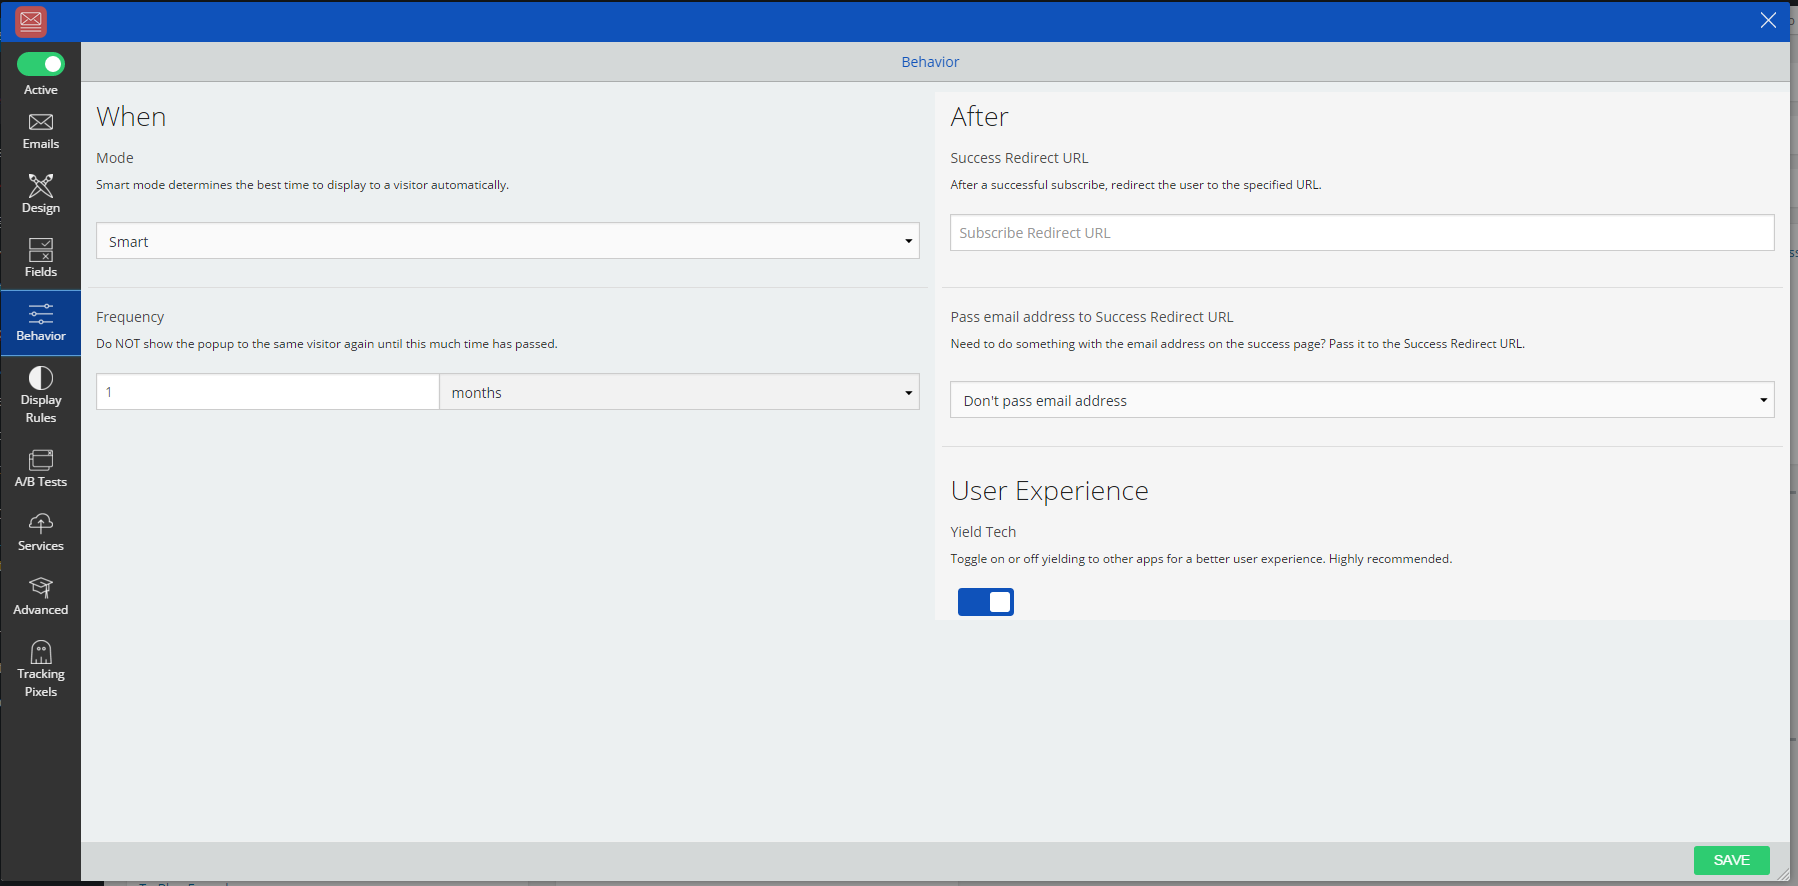
The next tab is the behavior tab which is where you pick the rules of how often your want your pop up to show on your site, and if you want a person to be redirected to another location after they sign up. So for example, mine says, do not show the same popup to the same visitor until a month has passed.
This makes sure my readers aren’t spammed with the same opt-in every time they visit my site. Also, if I wanted to, I could redirect my subscribers to a Google doc url that holds my ebook immediately after they opt-in. Don’t forget to save your changes by clicking the green button on the bottom right hand side.
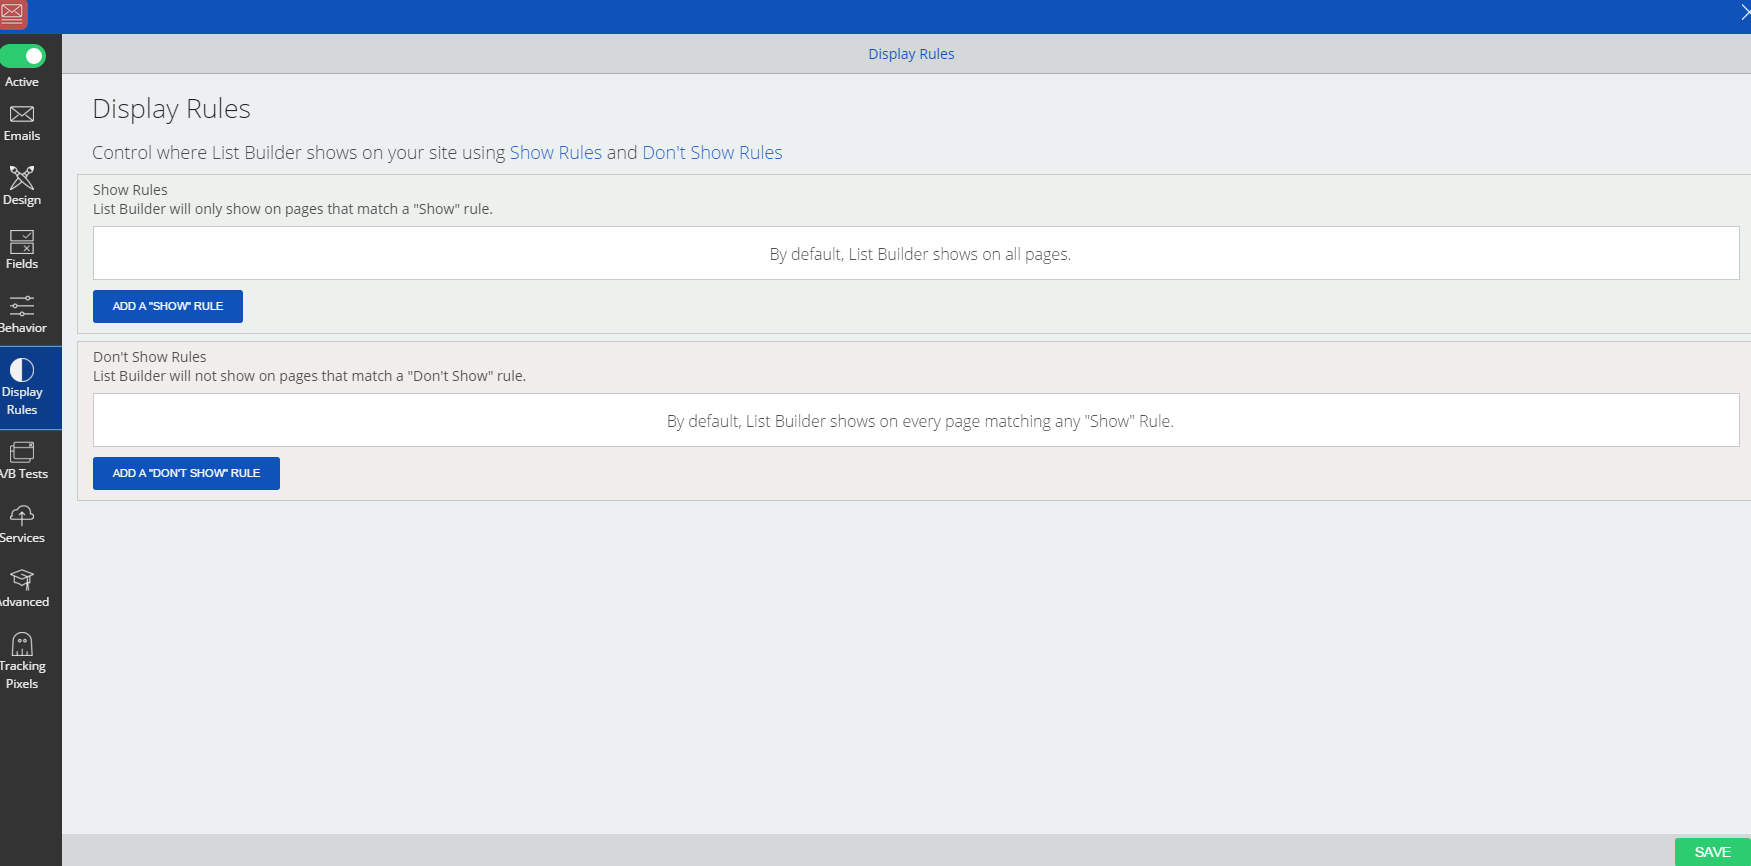
The next tab is display rules, and this lets you choose which pages to display your opt-ins on.

The next tab is A/B testing which I’m really, really new to, and I don’t have much knowledge about. I do know it’s really important to do so that you can know what works and what doesn’t work on your site!
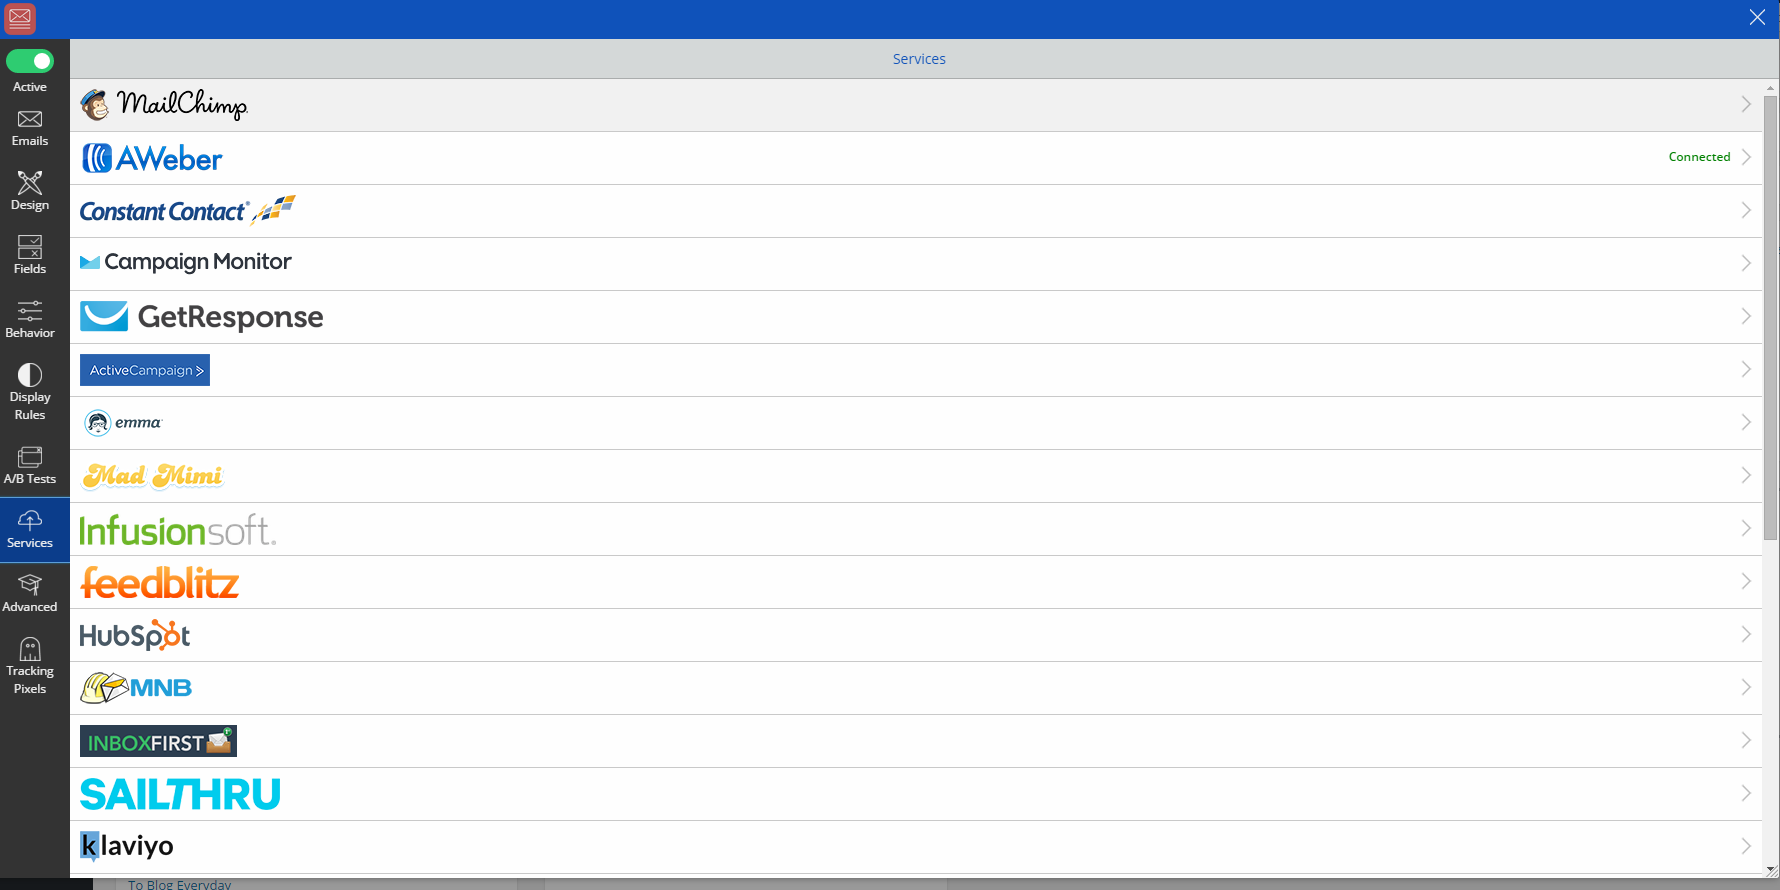
Sooo, since I don’t know what I’m talking about, we’re going to skip that tab and go on to services! LOL This tab is where you can connect your opt-in with your email autoresponder. I use Aweber, and when people opt-in on my site, Aweber sends them an automatic email and it’s really cool! It also seems like Sumo Me have the capability to connect to every autoresponder in existence:
Once you select your email autoresponder service provider, you just select connect and it’ll prompt you to log into your account and connect any list you want to your opt-in form.
The next tab is advanced and that’s where you can add your own html, and the final tab is tracking pixels, another pro feature of which I know nothing about, LOL.
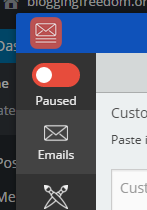
And, I’ve saved the most important rule of all–this is how you’ll get your opt-ins to go live on your site. Make sure the green light is on in the top left hand corner and that it says active. When you’re first setting this up, it will be paused and look like this:
 just click on it and it will become green and active:
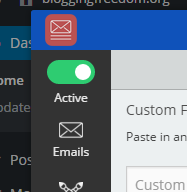
You won’t believe how long I went trying to figure out why I couldn’t see one of my opt-ins on my site! (I think a week or two before I figured it out.)
You’re going to set up your other opt-in forms pretty much the same way. The design tab will show you what the opt-in will look like on your site so you can see what each one is. I had no idea what a welcome mat was before I started using SumoMe, but I’m glad I found out because it is my highest converting opt-in!
This is actually my second blog post for day 5 of my blogging challenge! Make sure to post your article in the Facebook group and if you haven’t joined my blogging challenge yet and would like to be a part of it, check this out!
Please Pin Me! 🙂