
Note: Some links in this post contain affiliate links, which means I may receive a commission if you make a purchase. That’s actually one of the ways you make money blogging! Thanks for supporting my blogging dreams! 🙂
Guys I am not a coder, developer, or anything of the sort! However, I still know how to make a decent-looking blog. Learning how to design my WordPress blogs was perhaps the hardest part of my blogging experience. It took me 2-3 years just to learn the basics of WordPress design. Luckily for you, I’m going to break down some of the basic design elements every WordPress blogger needs.
Login Into Your WordPress Site
First off you need to know how to log into your site. All you have to do is put a /wp-admin/ after your your website address like this http://www.bloggingfreedom.org/wp-admin/ . It will take you to your login page for your site:
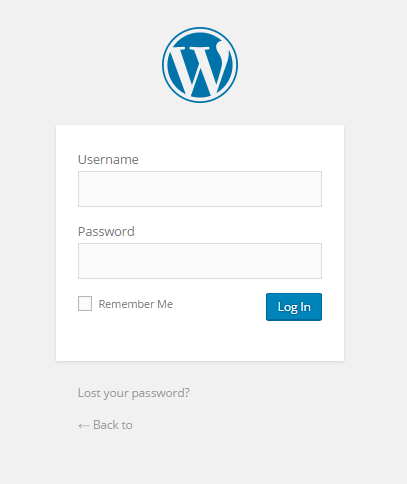
Another quick and easy way to reach this page is to put a /wp-login.php at the end of your website’s name.
How to Handle Your WordPress Dashboard
After you log in you’ll be taken to your dashboard where you have control over every aspect of your blog:
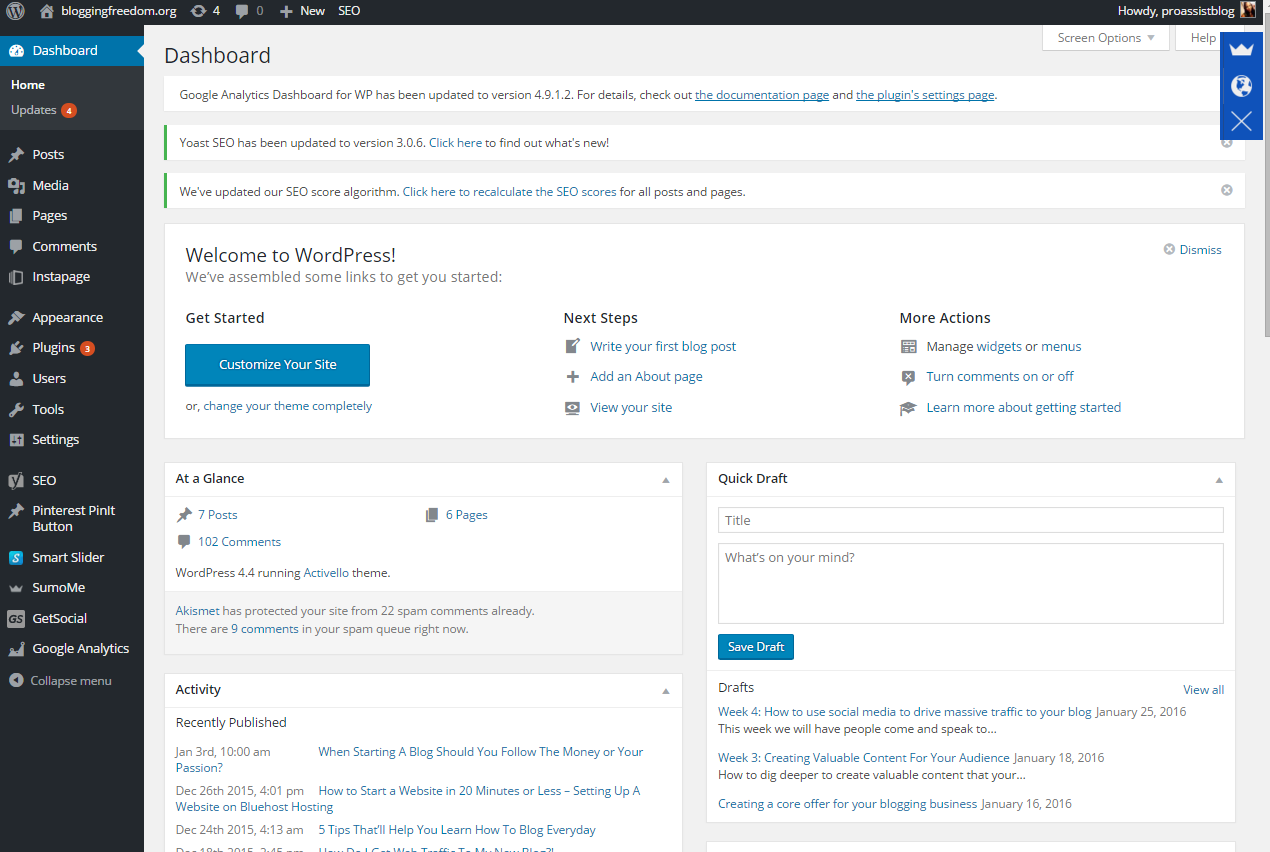
The main categories on your WordPress dashboard are:
Posts – Your posts are your blog posts and are different from your pages. Posts usually have comments while pages do not. You can also add posts to your menu. I’ll show you how in the menu section below.
Media – This holds all your images and videos
Pages – Pages are things like your about me page, contact me page, hire me page, etc. These are not blog posts and they do not have a comment section (unless you want it to and you design your blog that way). Also, you can make menus with pages.
Comments – This is where you will approve, disapprove, and reply to your comments. Make sure you install the Askimet plugin so that you can protect your site from spammy comments flooding your website.
Appearance – This is where you will actually design the face of your blog. More on this below.
Plugins – This is where you will add, manage, or edit (if you’re a coder) your plugins. Plugins are basically tools that developers create to make running your blog a little easier.
Users – This is where you can actually add a user like a contributor or a developer. It’s here that you can set up an account with a special password for other people you want to give access to your site. It’s also where you can find your own login credentials, add an email, picture, or change your password.
Tools – Honestly I’ve never used this category before. It has a couple of blogging tools like press this and bookmarklet that’ll help you save and use small parts of articles on the web.
*The rest of the categories are plugins I installed on my site*
How to Change the Appearance of Your Blog Without Using Code
When you click on appearance in your dashboard, it looks similar to this:
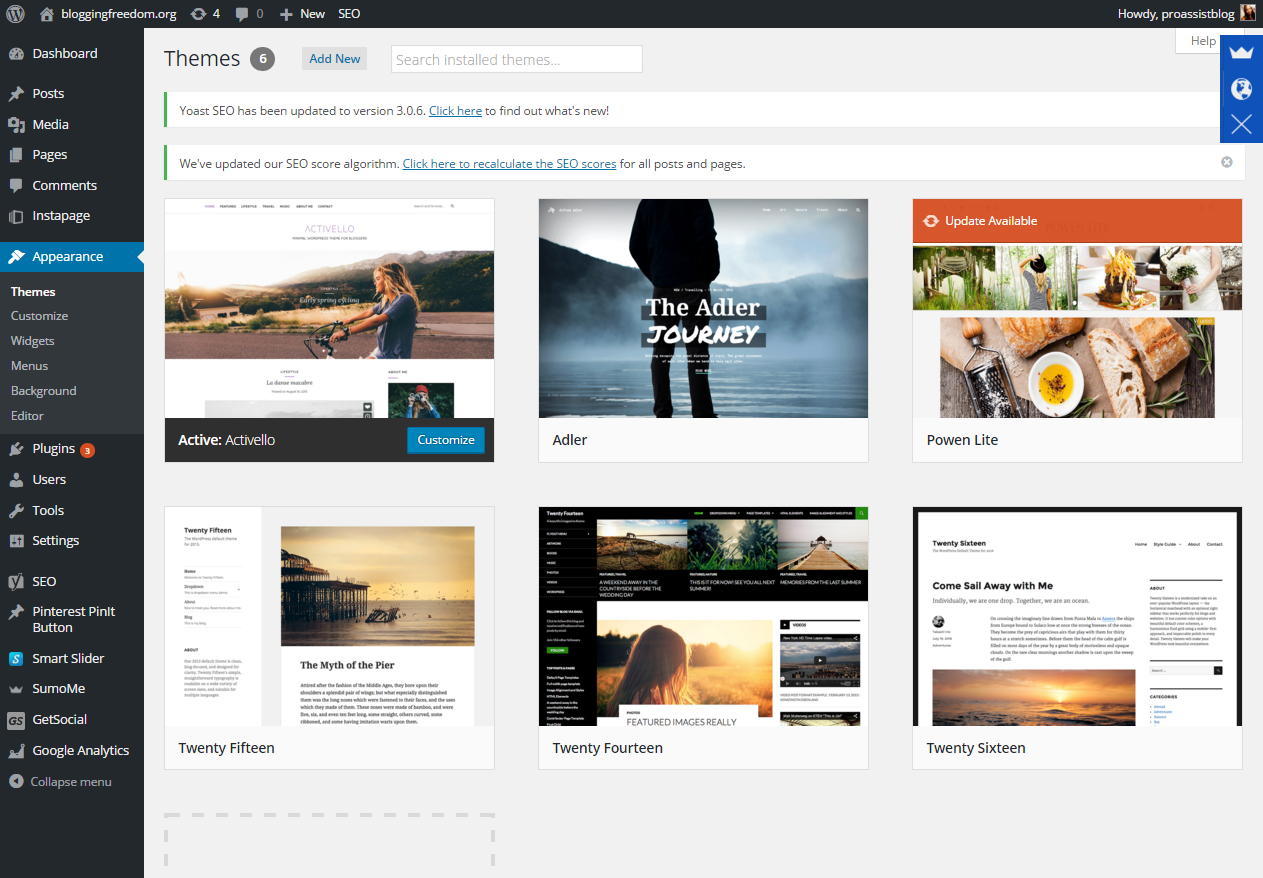
The very first section is themes and this is where you’re going to select a theme (a skin for your blog). Select “Add New” at the top to go to the WordPress theme directory:
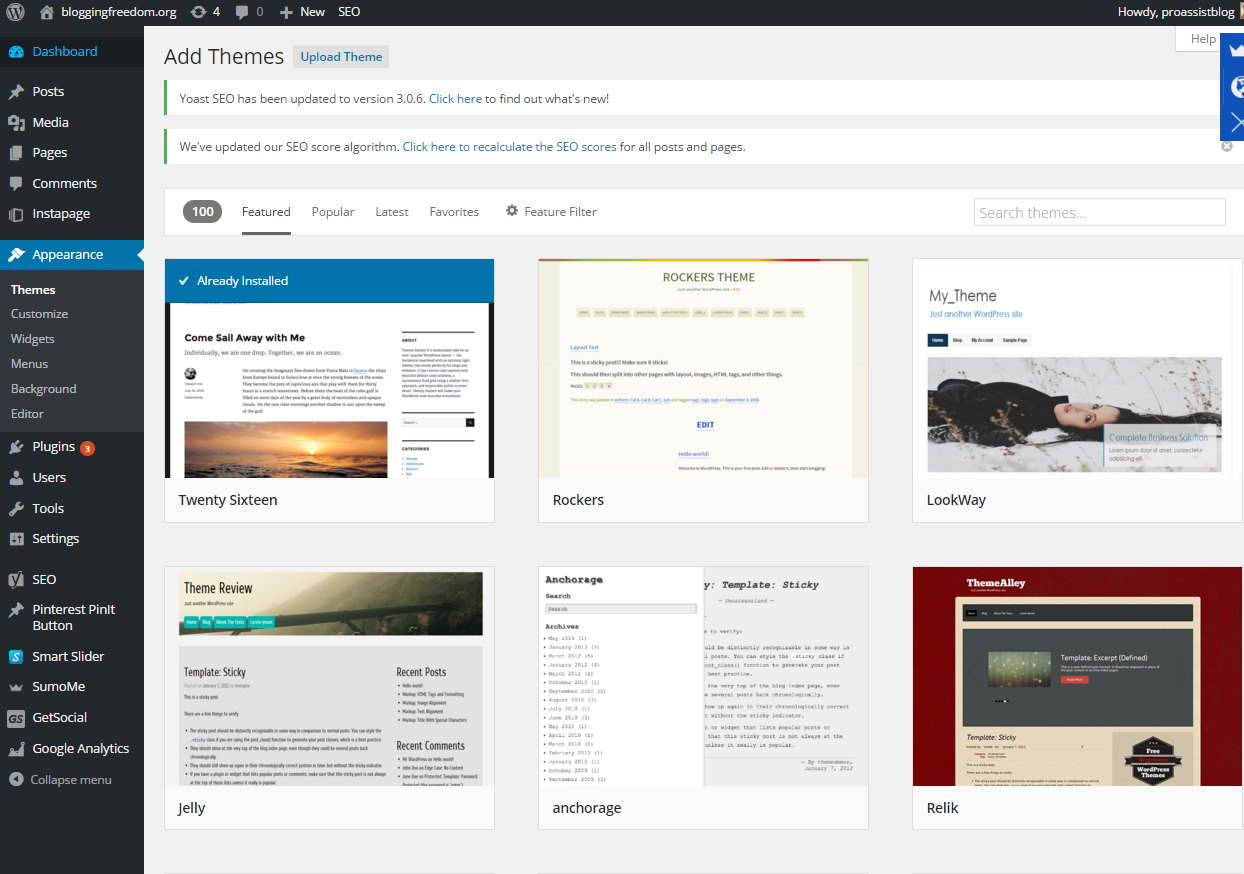
Like, a million themes are going to pop up and it’s going to take you forever to figure out which one to use (or maybe that’s just me 🙂
Be warned–how the theme looks at face value is not how it’s going to look on your blog!!! I found this frustrating fact out the hard way. The designers show you what the theme could do with a little coding here and there, but what we want to do is find a theme that is going to be easy to change without using much code.
What I like to do when I’m picking a theme is to use the ‘live preview’ feature of the theme on my blog. Which ever theme looks the best right out of the box without me having to do anything to it, is usually the one that I’ll pick.
To view a live preview just click on the theme you want to preview and click live preview (pretty easy huh).
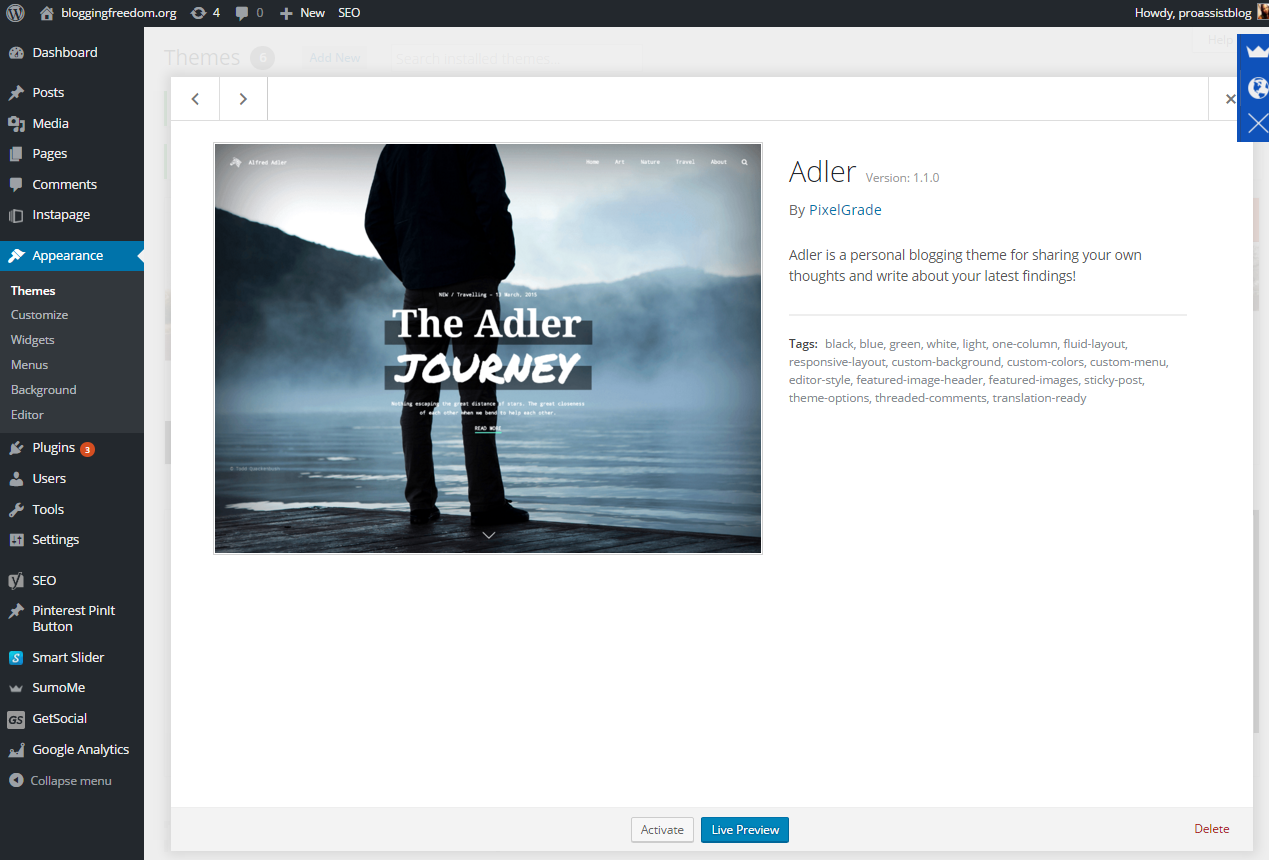
When I click on that live preview, this is what happens to my blog:
If I wanted to keep this I would simply select the blue “save & activate” button in the top left hand corner. If not, I would select the X in the top left hand corner.
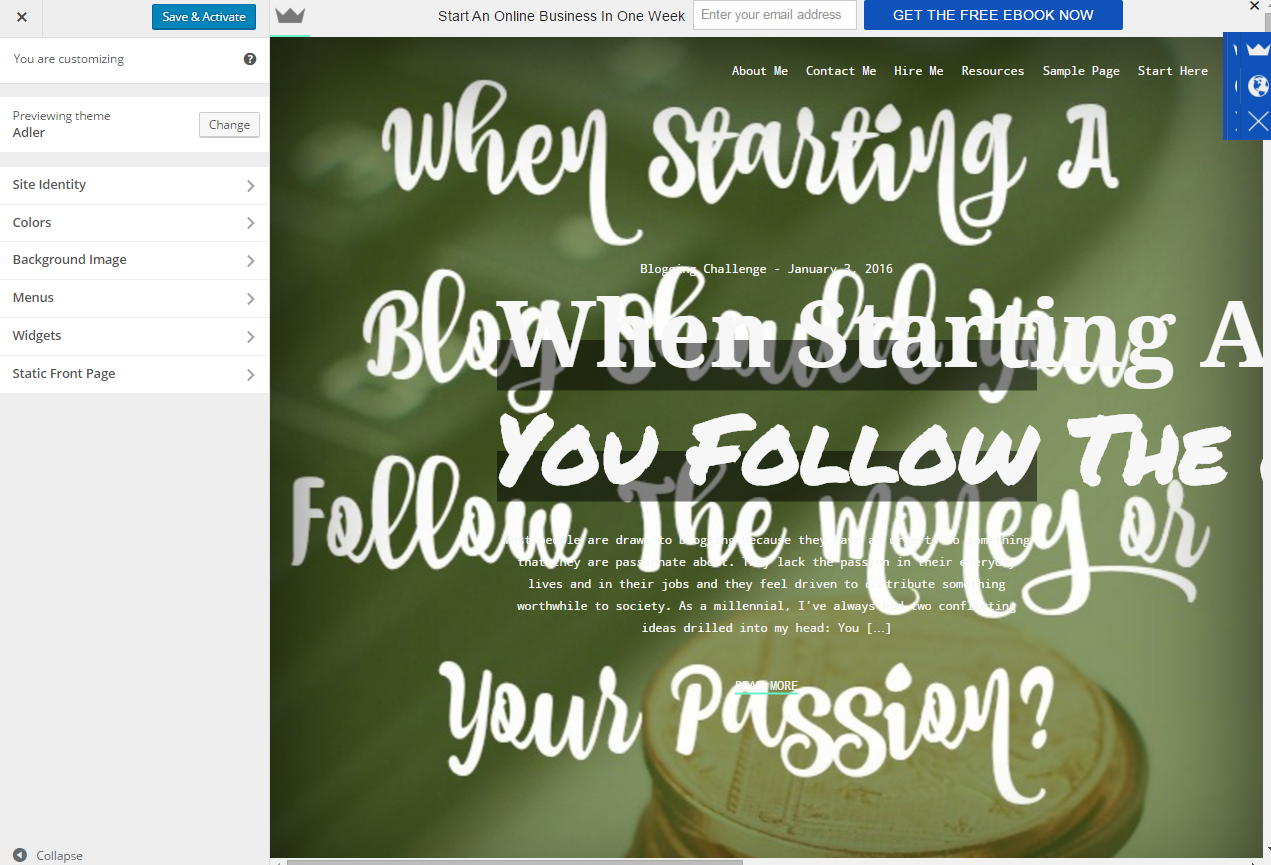
Let’s go to the next category under Appearance–> Customize.
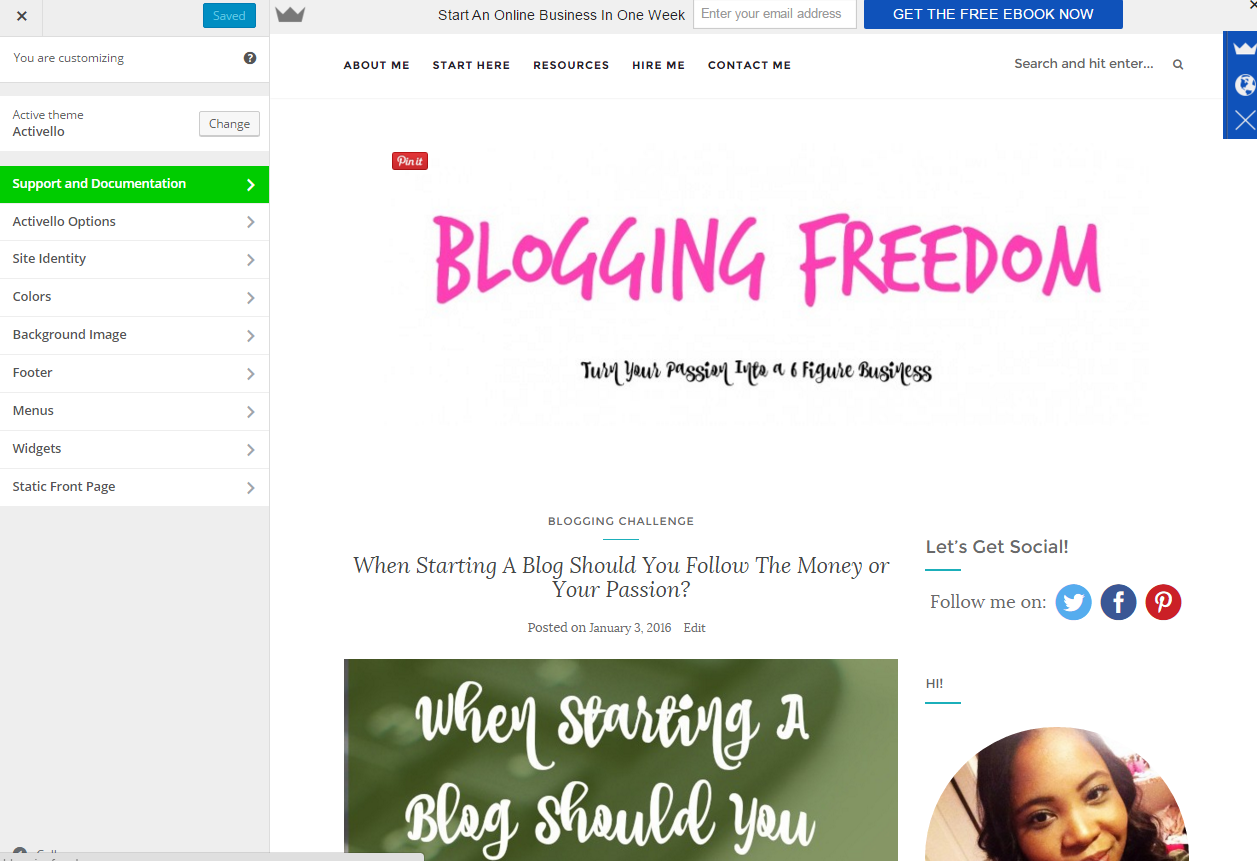
When you select “Customize” it takes you to your blog’s face. As you can see, I’m using the Activello theme. I love it because the design is clean and easily to customize without using any code. It’s a very basic blogging theme which I really like. Activello comes with its own special options. Some themes come with options like a slider or a different theme layout, and some themes come with no special options at all.
We’re going to skip to the “Site Identity” – This is where you can name your blog and upload a logo if you have one.
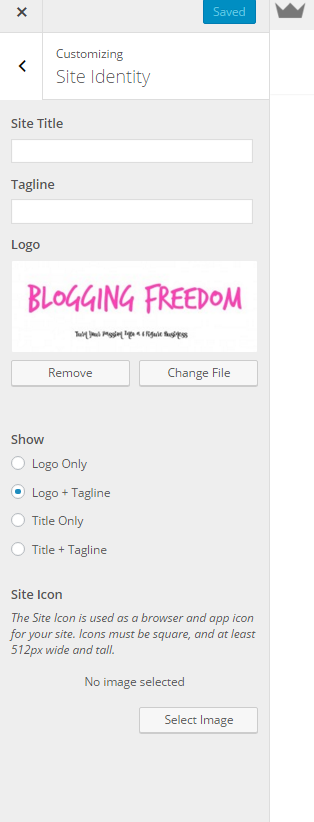
Guys I literally made that logo myself with picmonkey using trashhand font in a hot pink color. It took me less than 5 minutes to create and you can do the same. To put your logo on your site, save to your desktop and go to Customize –> Site Identity, select change file and upload your logo. If you don’t have a logo, you can put your site’s title and tagline in the first two boxes and that’s what will appear at the top of your site.
Colors – Where you can change the colors of your blog.
Background Image – You can upload a background image to your blog. I don’t suggest doing this because I think it clutters the space on your blog, it’s distracting, and honestly its ugly…don’t do it guys! lol
Footer – Where you can put copyright text.
Menus – Okay menus were like honestly the most confusing part of WordPress for me! Something that should be so simple was extremely complicated!! The first thing you have to do to create a menu is to create your pages. Go to your WordPress dashboard–>Pages–>Add New and create whatever pages you want.
Common pages every blogger should have are:
- About Me Page
- Contact Me Page
- Resources or Start Here Page
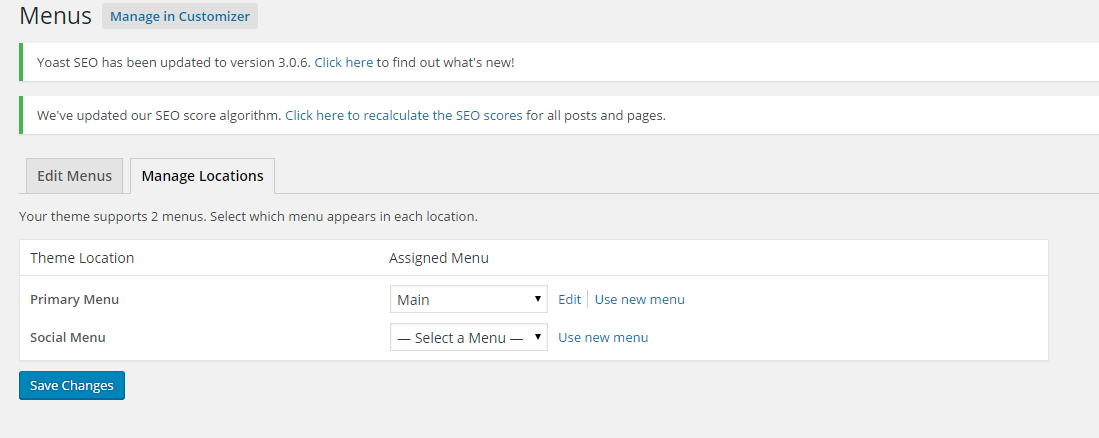
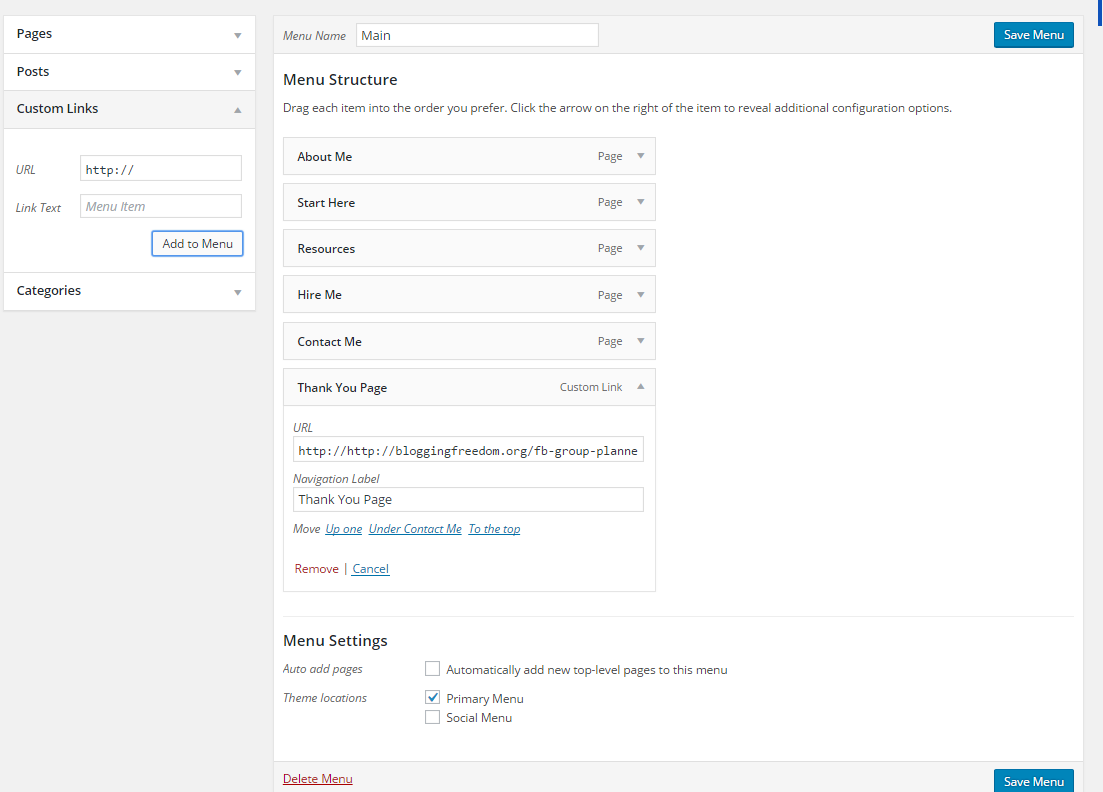
Once you create these pages go over to your dashboard again and go to Appearance–> Menus. This is what you will see:
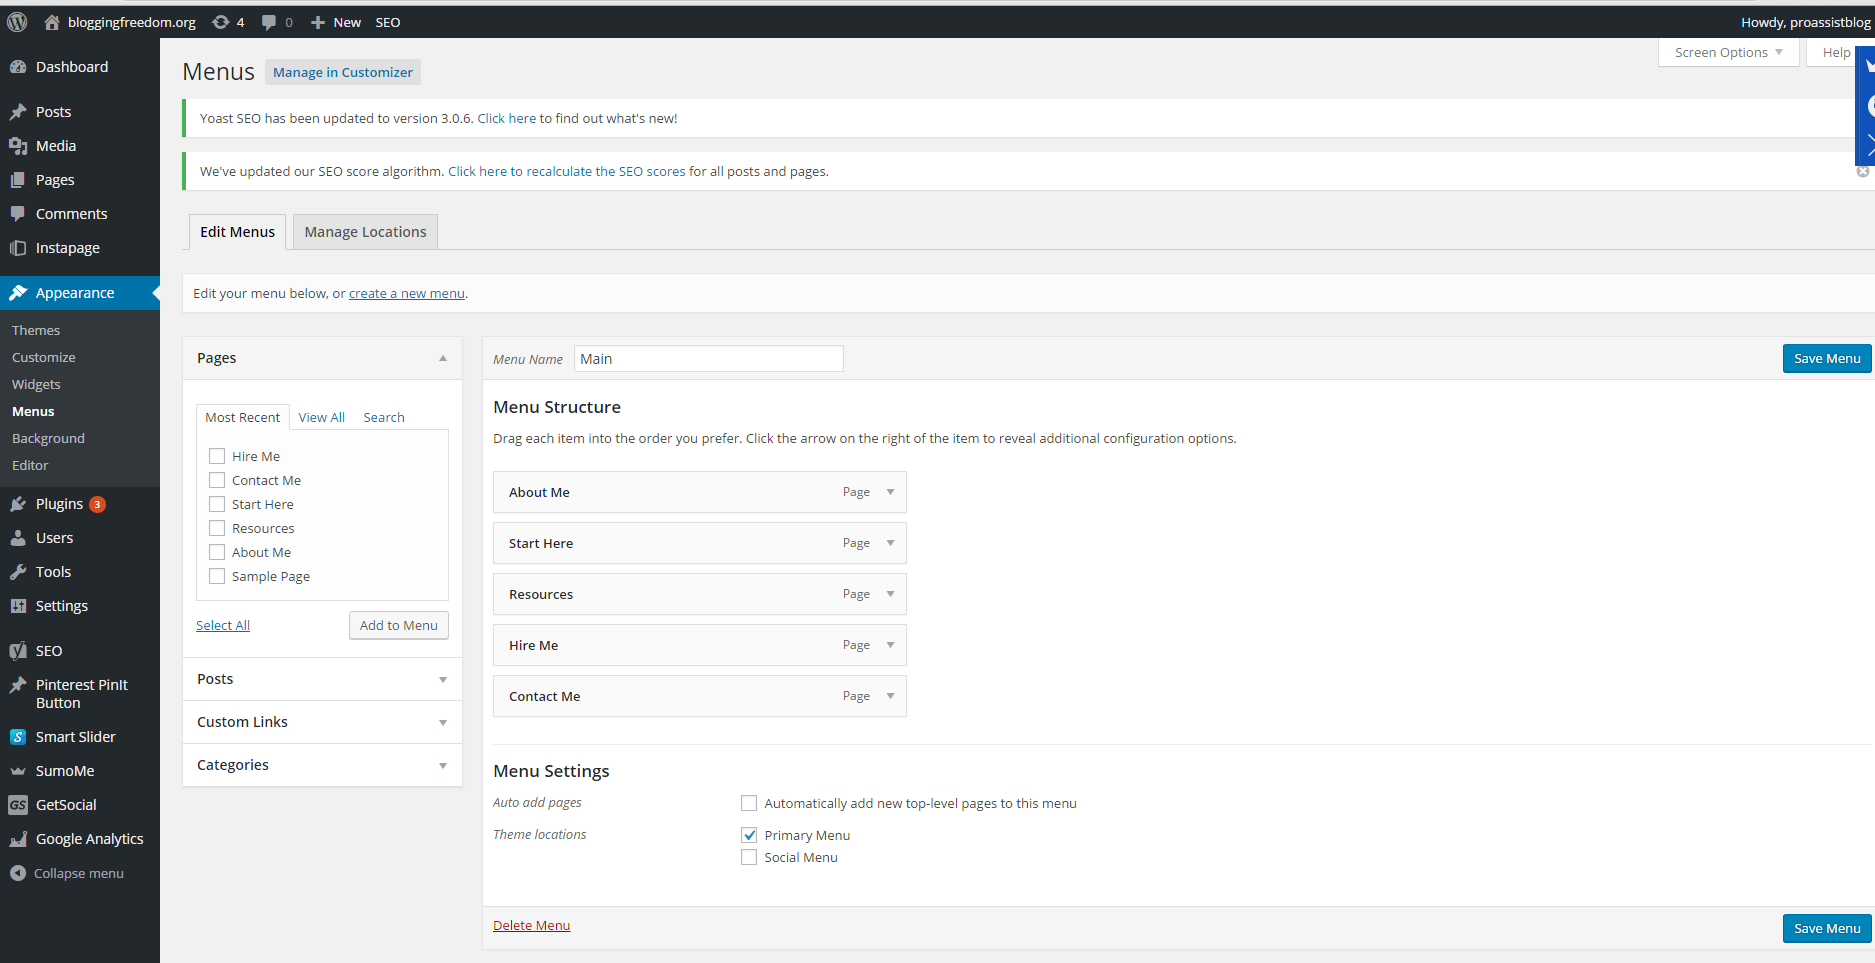
On the right-hand side, you see all of your pages. You can even add blog posts in your menu, categories, or a custom link like a landing page you created outside of your WordPress site. Select the pages you want to add to your main menu and click “add to menu”. Under the menu structure you can drag and pull your pages underneath one another in the order that you choose.
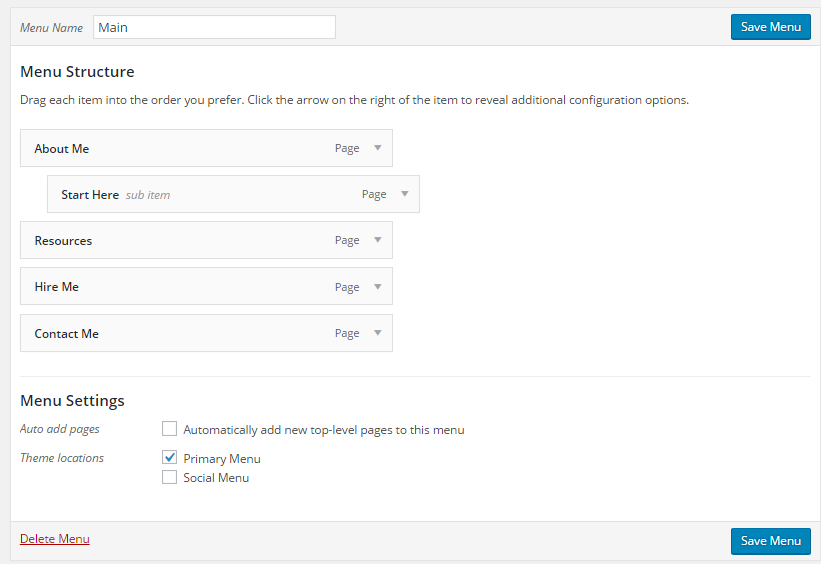
If you drag and pull one page underneath another page like in the picture shown below, that page will now be found inside the page on top of it. This is how you can create category menus.
You also add an additional menu. This theme only supports two menus –primary menu and social menu.
Widgets – Okay widgets is where you’re going to really be able to design the face of your blog using custom images you create with picmonkey or canva.
To access your widgets go to Customize –> Widgets. When you select widgets, go to your sidebar:
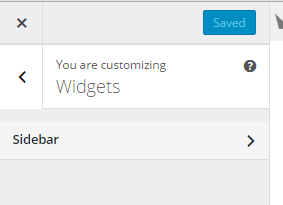
Yours is not going to look like mine because I’ve added most of these widgets.
To add a little author’s box or circle in your sidebar, you’re going to install a plugin for it first. You have to go back to your WordPress Dashboard –>Plugins–> Add New –> Search for *About Me Image* and click install.
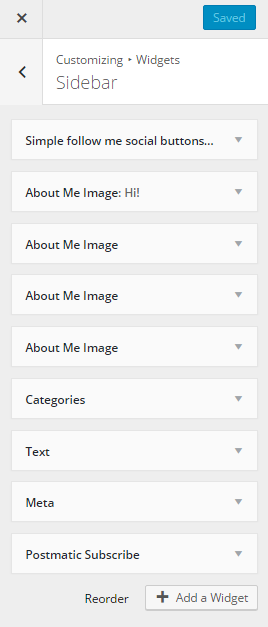
Once you’ve done that you can come back to Customize –> Widgets –> Sidebar and select “Add a Widget” at the bottom here and select the About Me Image widget.
Next, click on it and upload an image, text, and any url you would like the image to link to.
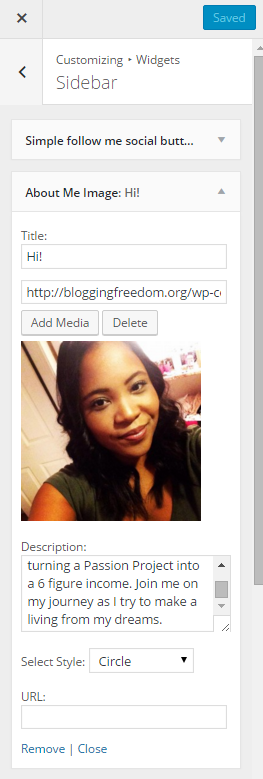
Make sure to select save at the top and then you will see the change happen automatically on your blog’s face as you’re editing it.
You can also use the about me image widget to add free gifts like an ebook to your sidebar. Create a landing page for your ebook then create a small graphic with the name of the ebook. Upload the image to your sidebar using the about me image widget and simply add the url of the ebook download page in the url section.
You can also add an ad using the about me widget.
A lot of the widgets that come with the WordPress theme, I automatically deleted; especially widgets that were in my footer like the calendar, recent comments, etc. I found them to be unnecessary widgets that cluttered my blog that made it look unappealing overall.
Meta Widget – Every blog comes with the meta widget, and this is another way to sign into your blog. It’s found on the home page of your blog.
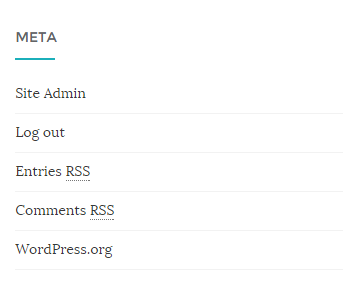
You can choose to delete this widget and login using /wp-admin or /wp-login.php.
How to Set the First Page of Your Blog as a Landing Page
Have you ever been to someone’s blog and the very first page is a landing page (not a blog post) of who they are, what they’re about, and it’s offering you some type of free gift?
If not, a really great example of this is Gina Horkey’s website, Horkey Handbook. She talks about being a virtual assistant, freelance writer, and making money online. I love her site!
If you want to make a page like this, you can create it in a landing page creator like Optimize Press, Instapage, or Lead Pages. I’ve never used Lead Pages or Optimize Press before, but I’m sure you can download their plugin and upload any pages you create to your site. I know with Instapage, you just go into your account, create a landing page by doing drag and drop, then you download the Instapage plugin on your site, go to it, log in, and you should be able to choose which page in your Instapage account you want to publish on your site.
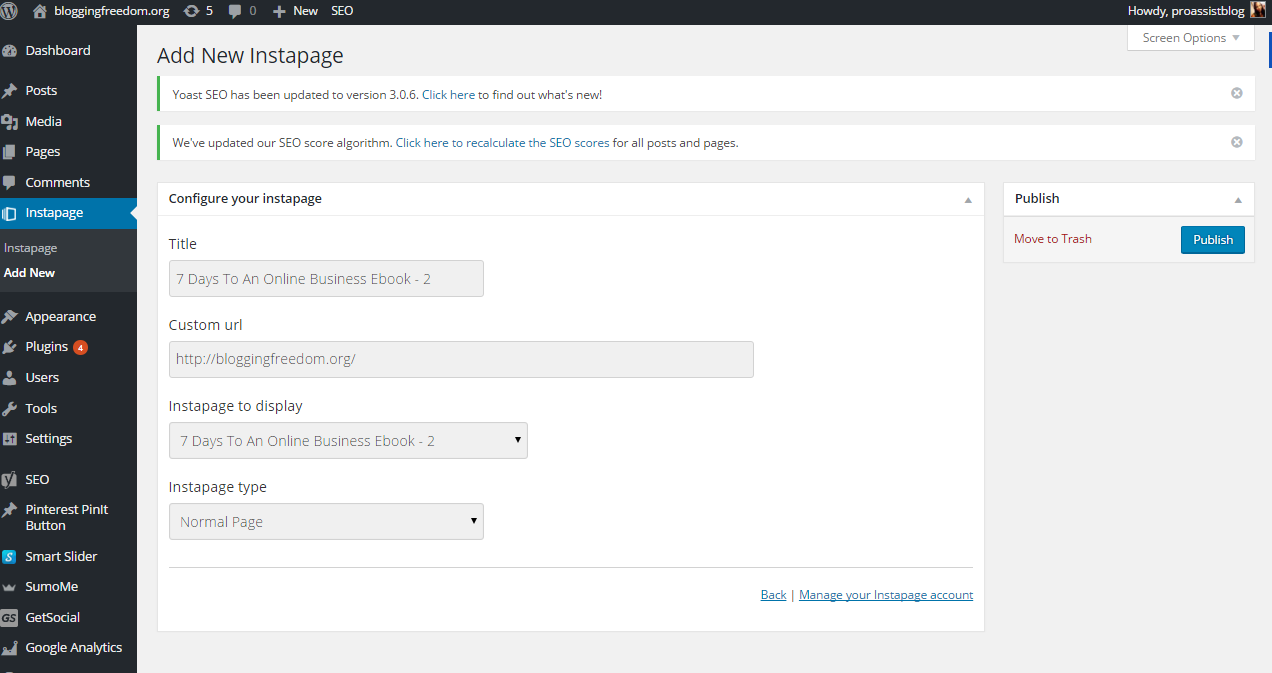
As you can see above, when you go into your Instapage plugin–> Add New, there are two drop down boxes. In the third drop down box, you can select whatever page you want in your Instapage account and give it whatever url you want it to have in the second box. After you click publish, the page will be live on your site.
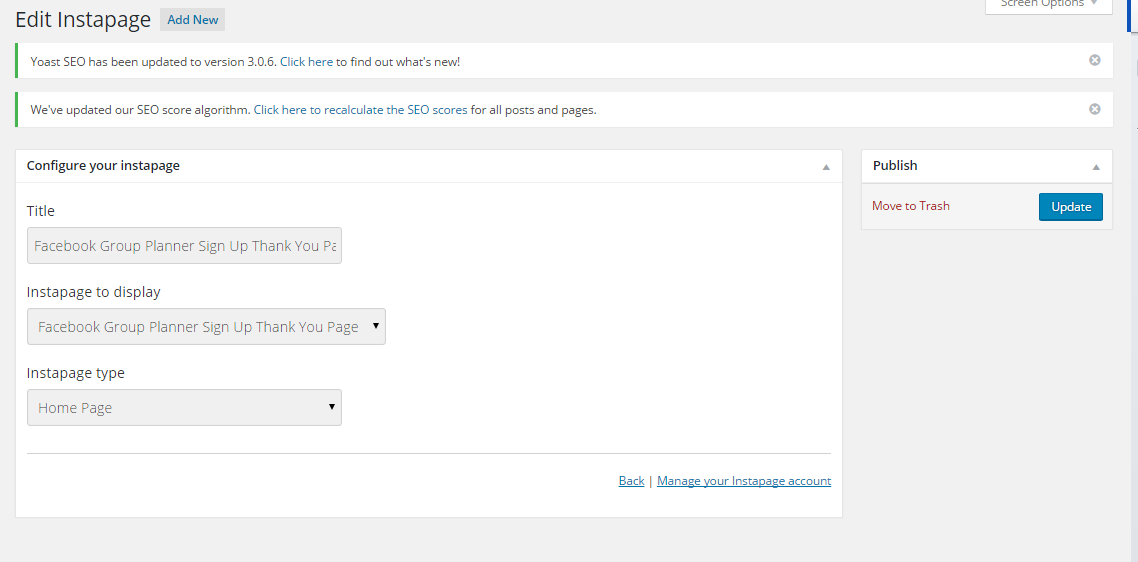
If you want to add this page as your home page, select “Home Page” in the Instapage type drop down menu.
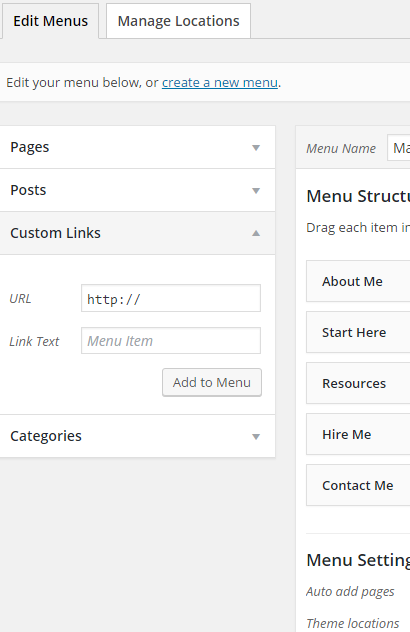
To add an Instapage page to your main menu, copy the link from the custom url box and go to Appearance–> Menus and paste it into custom links then select add to menu. Also give the title to what you want your link to say.

Once I add it to the menu it’ll look like this:
Click “Save Menu” and you’re done!
I hope that this resource helps you! If you’re ever in doubt, do what I did–just go through every single category in WordPress. You will learn a lot by doing just that! Learning how to use WordPress is a skill that must be learned like any other skill so be patient. If you ever have any questions, feel free to contact me.
This is part of my complete guide to starting a WordPress site. Read my other two guides in this series to learn how to install a WordPress site on Bluehost and how to install 5 essential plugins I believe every blogger needs.
Please Pin Me 🙂


3 Comments on How To Design Your Blog (With NO Code)
1Pingbacks & Trackbacks on How To Design Your Blog (With NO Code)
-
[…] How to Design Your Blog (With No Code) […]
Rose F
January 5, 2016 at 8:51 pm (8 years ago)Thank you!
proassistblog
January 6, 2016 at 12:03 pm (8 years ago)Thank you for reading Rose!